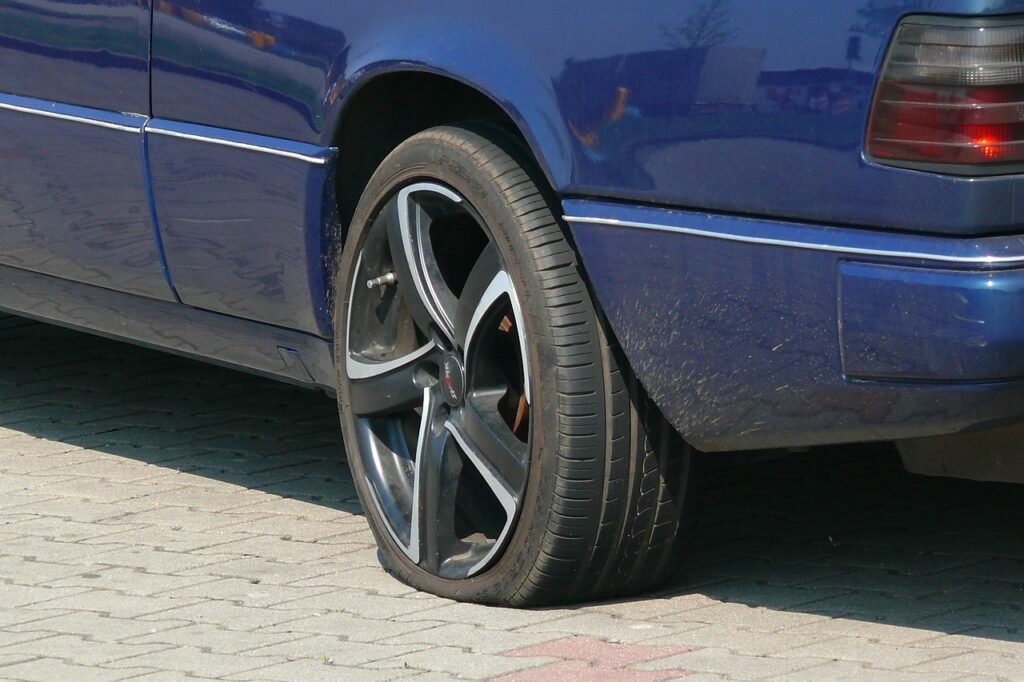
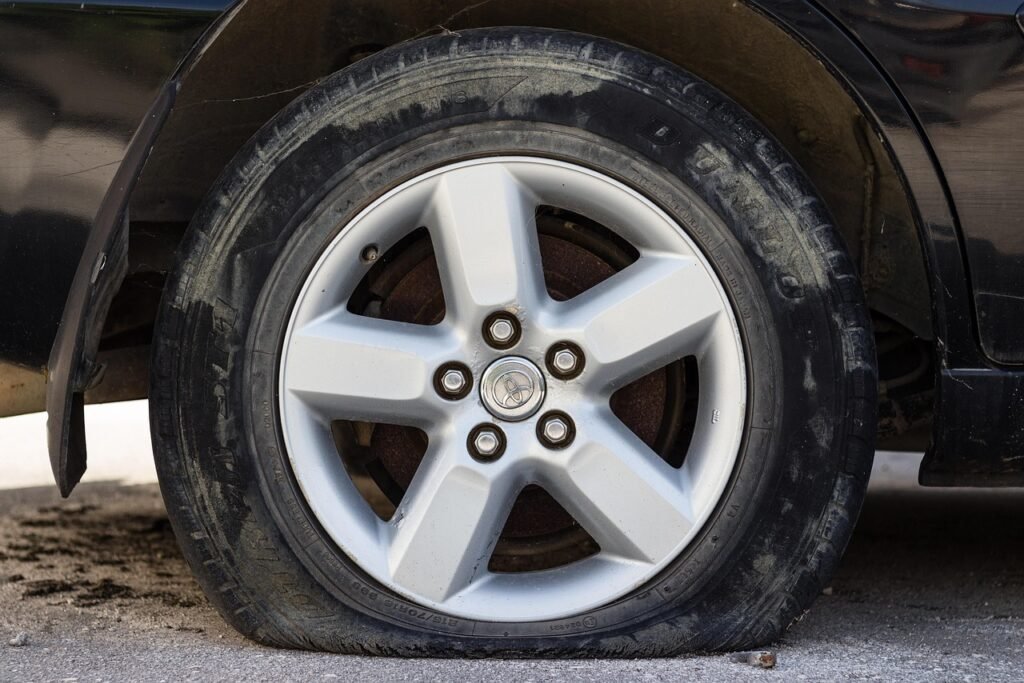
Flat tires can happen unexpectedly — from road debris to potholes. In such moments, knowing how to change a flat tire is a valuable life skill that keeps you safe and confident on the road. Changing a flat is not just about wrenching off a wheel; it’s about doing it safely, efficiently, and in a way that minimizes risk from passing traffic or improper technique.
This guide walks you through everything from preparing your vehicle, choosing the right location, safety steps, tools required, and step‑by‑step tire changing instructions you can follow the next time you’re stranded on the roadside.
🚦 Why It’s Important to Change a Flat Tire Correctly
A flat tire can severely affect vehicle control, braking distance, and safety. Driving even a short distance on a flat risks damage to the wheel rim and your car’s suspension. Worse, stopping abruptly on a busy road without proper preparation can lead to accidents. Knowing how to change your tire safely helps prevent:
- Roadside injuries from traffic
- Damage to your vehicle’s wheels or brake system
- Getting stranded in unsafe locations
- Costly tire repairs from improper handling
The goal is to make the procedure safe, quick, and effective — limiting your exposure to risk while ensuring the job is done right.

🧰 What You’ll Need—Essential Tools Checklist
Before we jump into the steps, gather these tools (most cars include these or you should add them to your emergency kit):

✔️ Spare tire (full‑size or temporary)
✔️ Car jack and lug wrench
✔️ Wheel wedges or blocks
✔️ Reflective warning triangles or flares
✔️ Flashlight and gloves
✔️ Tire pressure gauge
✔️ Vehicle owner’s manual
These tools help ensure you can change a flat efficiently and safely in various conditions — day or night. Some advanced kits also include reflective vests and portable air compressors.

🚗 Step‑by‑Step: How to Change a Flat Tire
1. Find a Safe Location to Stop
When you notice a flat, slow down gradually without sudden braking. Look for a flat, paved, and stable surface — ideally a wide shoulder, parking lot, or level road section. Avoid blind curves, hills, or narrow shoulders near fast‑moving traffic.

Safety Tip: Your hazard lights should be on as soon as you realize you have a flat. This alerts other drivers about your situation and reduces the risk of collisions.
2. Secure Your Vehicle Safely
Once stopped:
✔️ Apply the parking brake to prevent rolling.
✔️ Turn off the engine and put the car in Park (automatic) or in gear (manual).
✔️ Place wheel wedges or heavy blocks behind tires opposite the flat to further prevent movement.
✔️ Place reflective triangles or warning cones behind you for visibility.
These precautions significantly reduce the likelihood of your car shifting while you work.
3. Remove the Hubcap (If Present)
Some vehicles have a hubcap covering the lug nuts. Use the flat end of your lug wrench or a pry tool to gently remove it — check your manual for instructions specific to your car.
4. Loosen the Lug Nuts
Before lifting the car with a jack:
🔧 Using your lug wrench, loosen the lug nuts slightly by turning counterclockwise.
🔧 Don’t remove them fully yet — just break them free enough so they come off easily when the wheel is slightly elevated.
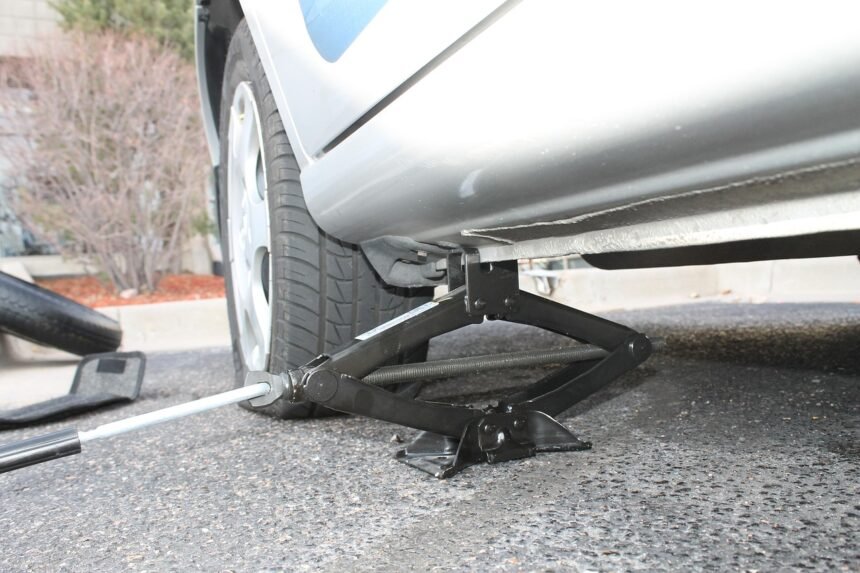
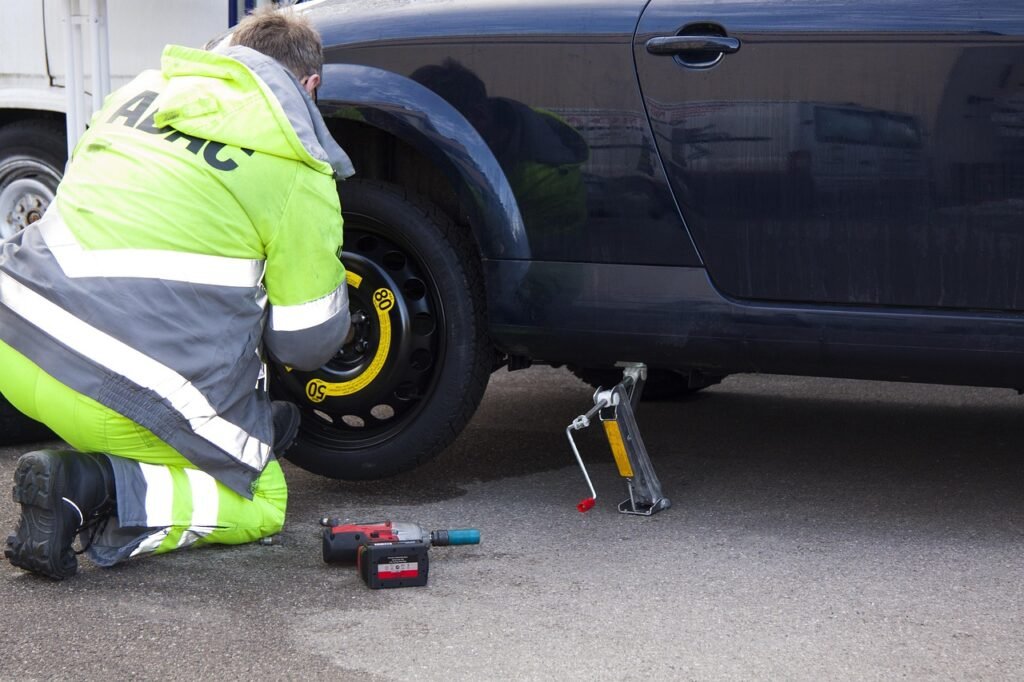
5. Lift the Vehicle with a Jack
Place the jack at the proper jacking point (this will be mentioned in your owner’s manual). Raise the vehicle slowly until the flat tire is off the ground — enough to remove it without obstruction.
6. Remove the Flat Tire
Once the car is elevated:
✔️ Fully unscrew the lug nuts you loosened before.
✔️ Pull the flat tire straight off the wheel hub and set it aside.
7. Mount the Spare Tire
Align the spare tire holes with the wheel studs, and push it onto the hub.
✔️ Hand‑tighten the lug nuts as much as possible — this ensures the tire stays in place before full torque tightening.
8. Lower the Vehicle & Tighten Lug Nuts
Lower the vehicle slowly so the spare tire sits on the ground but the car’s weight isn’t fully on it yet.
🔧 Tighten the lug nuts in a star (crisscross) pattern. This ensures even pressure and a secure fit.
Once fully lowered, give them a final torque check — firm but not overly tight.
9. Store Tools & Check Tire Pressure
After the tire change:
✔️ Put the jack and tools back in storage.
✔️ Check the pressure of the new spare if possible — most temporary spares need higher pressure than regular tires.
✔️ Drive cautiously and visit a tire shop soon to repair or replace the original flat.
🛑 Safety Tips & Best Practices
🟡 Never change a tire in heavy traffic if you feel unsafe. Call roadside assistance instead.
🟡 Always use wheel chocks — they’re simple but vital to prevent vehicle movement.
🟡 Avoid working under a vehicle supported only by a jack.
🟡 Wear reflective clothing or vests when changing tires at night or in low visibility situations.
🧠 Quick Safety Reminders Before You Start
✔ Choose the Right Spot
Never pull off on a blind curve or narrow shoulder. A safe stopping area isn’t optional — it’s essential.
✔ Hazard Lights First
Turn them on immediately — even if it’s daytime — to make your vehicle highly visible.
✔ Parking Brake & Chocks
Always secure your car before doing anything else.
📌 When to Avoid DIY and Call for Help
You should call roadside assistance if:
- The tire is shredded or has sidewall damage
- Your spare is flat, missing, or unusable
- You’re on a highway with no safe shoulder
- It’s raining hard or visibility is very low
- You don’t have the right tools
In such cases, professionals can reach you quickly with better tools and safety gear.